SOAP 2.0 | Prescriptions: Alerts and Reporting
- 28 Mar 2024
- 2 Minutes to read
- Print
- DarkLight
- PDF
SOAP 2.0 | Prescriptions: Alerts and Reporting
- Updated on 28 Mar 2024
- 2 Minutes to read
- Print
- DarkLight
- PDF
Article Summary
Share feedback
Thanks for sharing your feedback!
Overview
Prescription Alerts are triggered by expiration date and number of visits remaining. You can determine when alerts are generated on the patient’s case.
SOAP 1.0 Alerts
WebPT EMR Dashboard At a Glance Alerts and patient chart alerts in 1.0 will not update with SOAP 2.0 data. Follow the instructions below to manage prescriptions for your patients in SOAP 2.0.
Click the arrow or colorblock below to discover more.
SOAP 2.0 | Prescription Alerts
SOAP 2.0 | Prescription Alerts
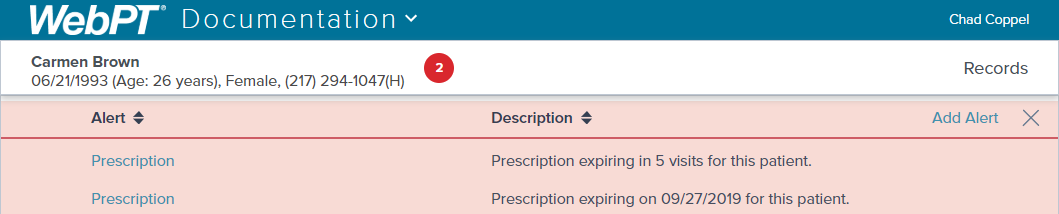
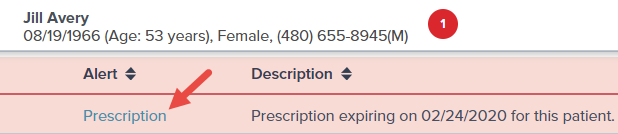
You’ll receive expires, expiring today, and expired alerts on the patient’s SOAP 2.0 chart.
The alert description shows you how many visits remain and/or the date the prescription expires, depending on whether you’re tracking by visits, by date, or both.
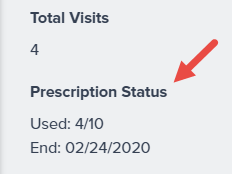
You’ll also have a quick view of the Prescription Status in the Case Summary.


SOAP 2.0 | Set up Prescription Alerts
Establish Alert Window
Let’s review how to set up alerts for patient prescriptions.
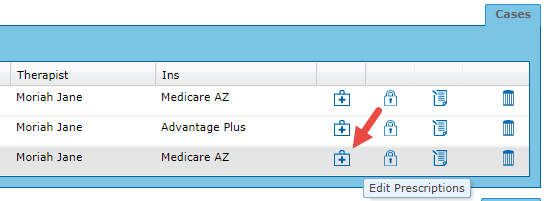
Go to the patient’s case in 1.0 and select the Edit Prescriptions icon.
In the Prescriptions pop-up, you can add or edit a prescription. For this example, we’ll update the existing prescription by clicking the Edit icon.
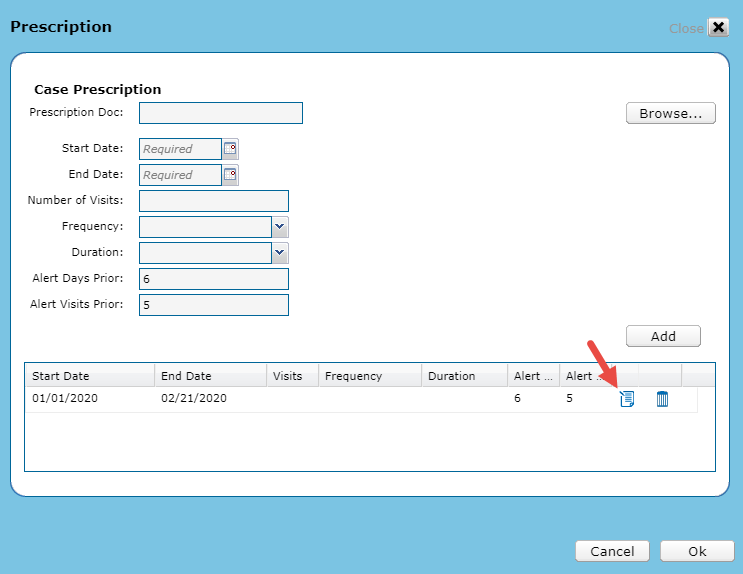
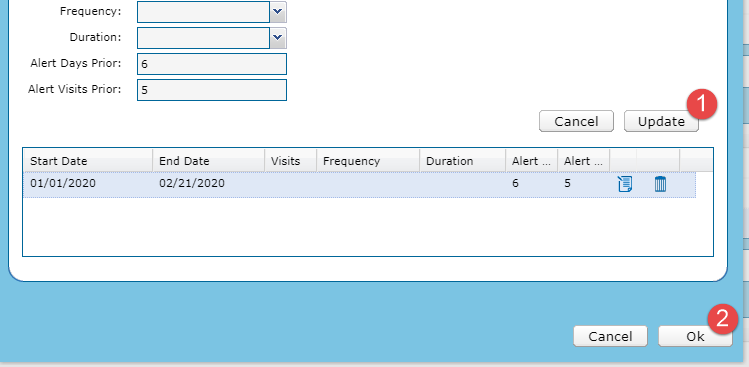
You can set the following information:
a.Alerts Days Prior: Choose how many days prior to the end of the prescription you would like to be alerted. This field defaults to 6 days.
b. Alerts Visits Prior: Choose when you would like to receive the alert based on the number of visits left on the prescription. This defaults to 5 visits.Click Update and Ok.
You’ll receive expires, expiring today, and expired alerts on the patient’s SOAP 2.0 chart.


SOAP 2.0 | Dissmissing Alerts
Dismissing Alerts
Click on the Prescription alert from the Alerts Drawer.
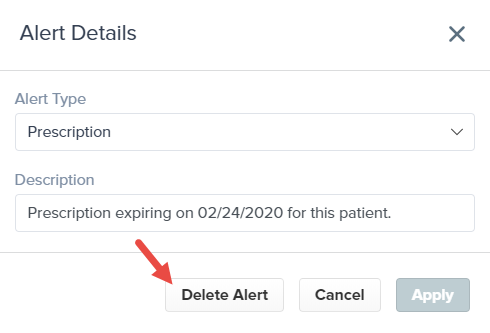
Click Delete Alert.
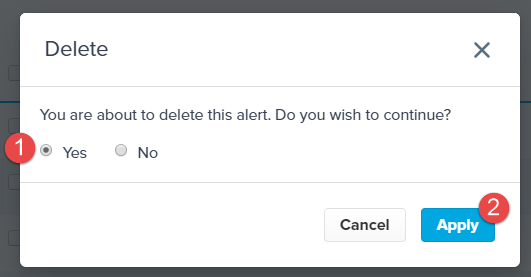
Ensure (1) Yes is selected and click (2) Apply.


SOAP 2.0 | Tracking Expired Prescriptions
How can I track expiring/expired prescriptions?
Track your prescriptions from the Case Summary in the patient’s SOAP 2.0 chart as shown above or through the Prescriptions Analysis Grid in Analytics.
Analytics Permission
Ensure you have the Analytics Access permission enabled.
SOAP 2.0 | Prescription Reporting
WebPT Analytics | Prescription Report
Open the Analytics portal by click the icon at the top of your WebPT screen.
Click on the Reports section in the left menu.
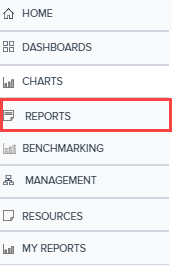
Go to the Visits subsection, and select Prescriptions.

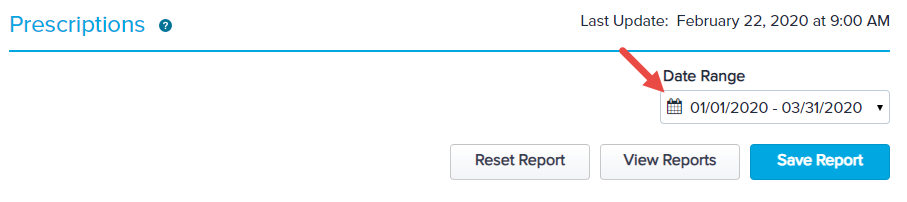
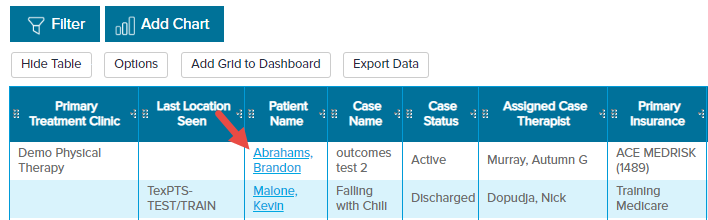
The Prescriptions analysis grid displays a list of all prescriptions with a start date within the set Date Range.
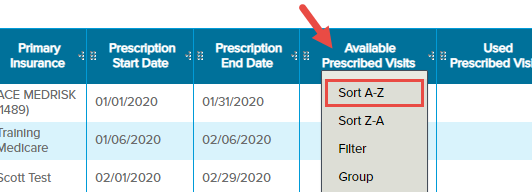
Expiration by Date: If you’re looking for expiring prescriptions, sort the Prescription End Date column by clicking on the column header and choose Sort A-Z. This will order the prescriptions with the soonest expiration date first.
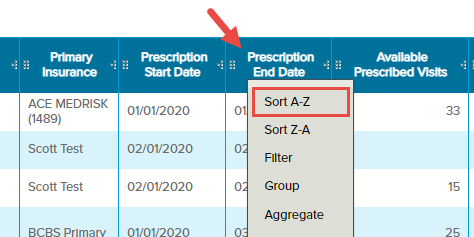
Expiration by Visits: If you’re looking for prescriptions with a few remaining visits, sort the Available Prescribed Visits column by clicking on the column header and choose Sort A-Z. This will order the prescriptions with the fewest available visits first.
When you’ve identified the patients who need updated prescriptions, you can click on the Patient Name to go to their chart.


Filter Discharged Patients
Quickly remove discharged patients from this list by filtering by Case Status using the steps shown below.
a. Click on the Case Status column header and select Filter.
b. Use the (...) button In the Filter window to select Active and
click Add. The filter ensures that only patients with active cases appear in the report.

Want to save time?
Try using the Saved Report functionality to maintain your filters and sorting views. Discover more about Saving Reports.
Was this article helpful?